Comprehensive Guide to PlayStation Pro Controller Joystick Replacement for Enhanced Gaming Performance
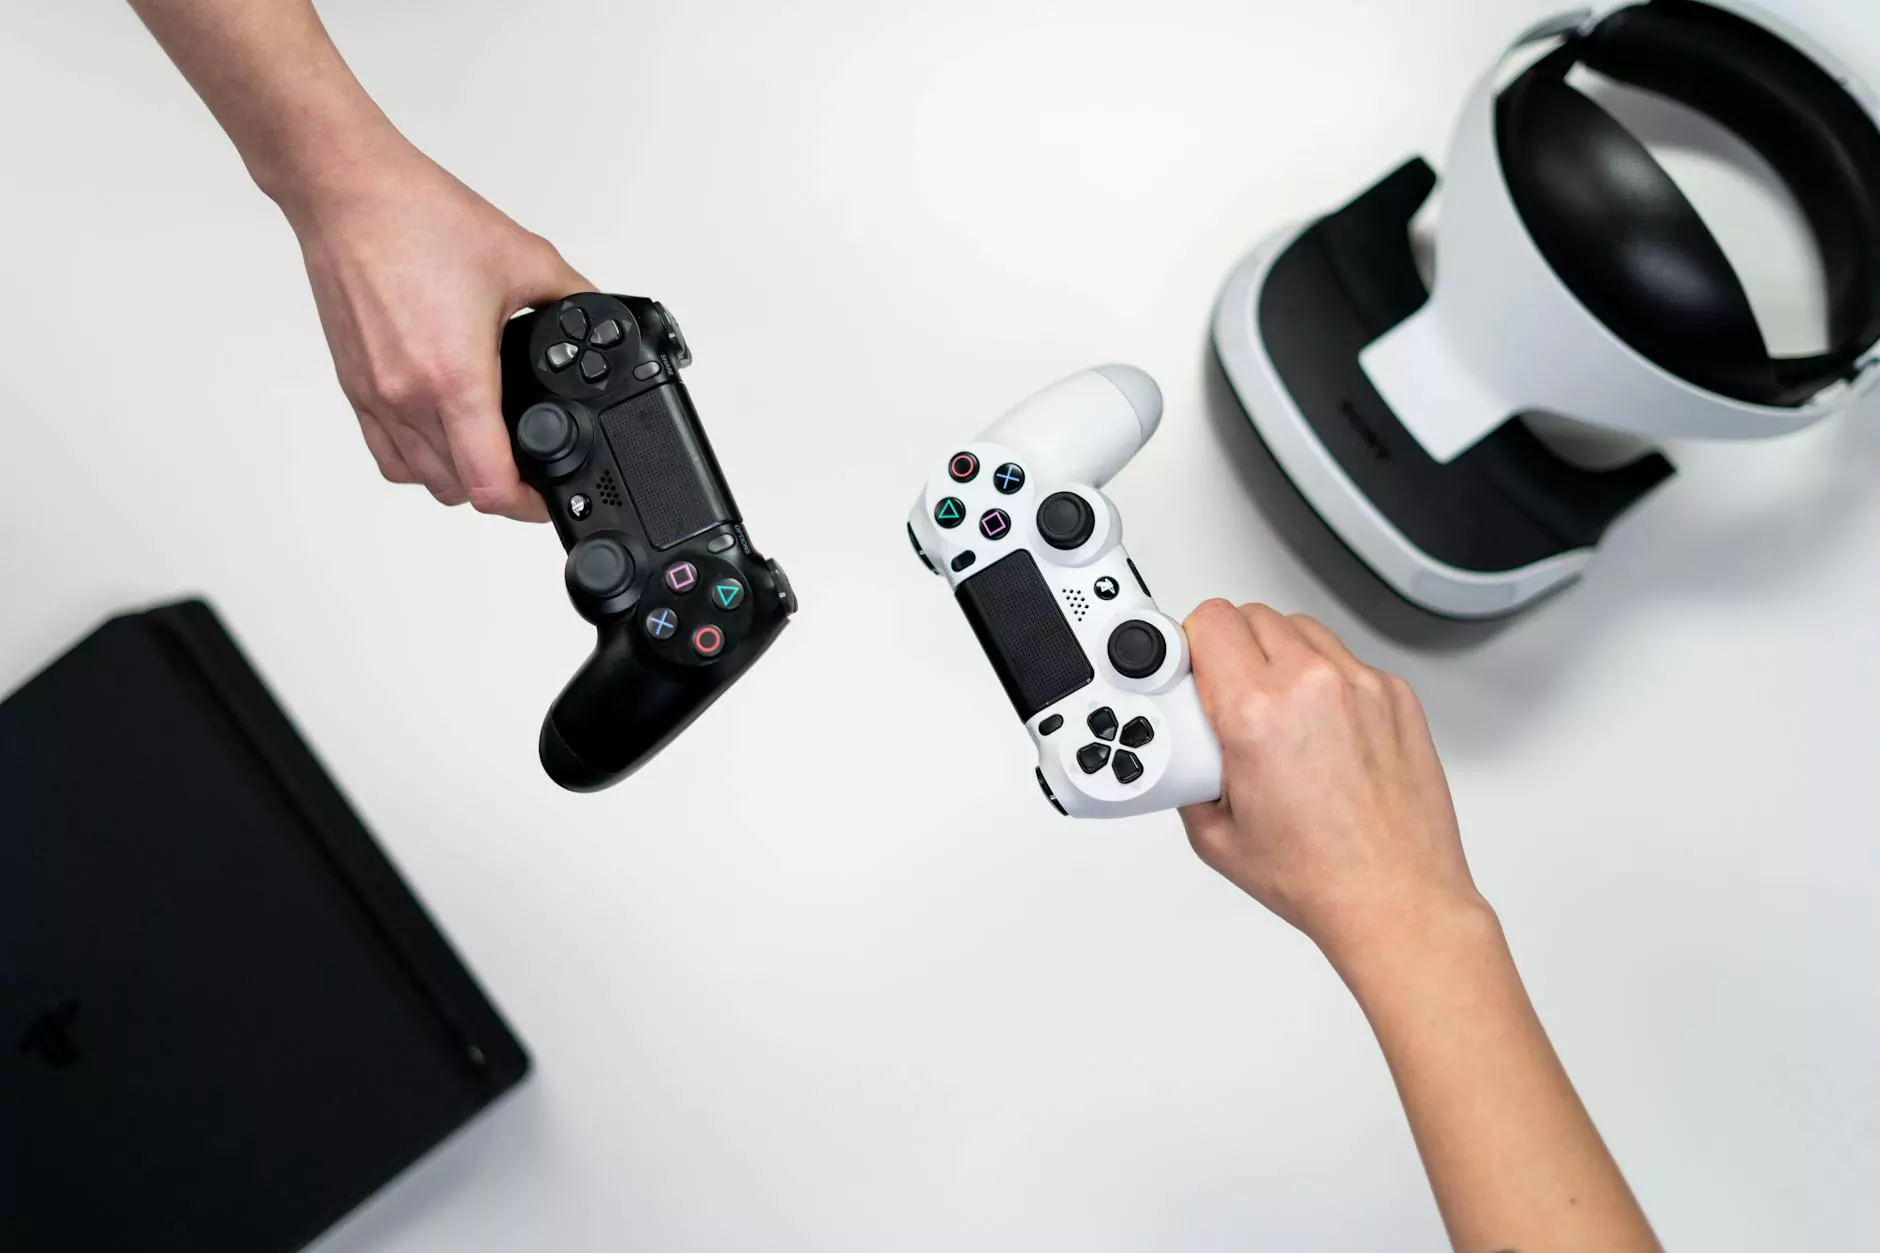
In the world of gaming, the PlayStation Pro controller stands out as a top-tier device renowned for its high performance, ergonomic design, and responsive controls. However, even the most reliable controllers can encounter issues over time, especially with their joysticks. Joystick replacements are a common necessity for gamers seeking to restore their controller’s optimal functionality without investing in a brand new unit. Whether you’re a casual gamer or a professional eSports athlete, understanding the process and nuances of the PlayStation Pro controller joystick replacement can save you significant time and money, while maintaining peak gaming performance.
Understanding the Importance of Correct Joystick Maintenance and Replacement
The joystick is arguably the most interacted with part of your controller, translating your physical movements into in-game actions. Over time, due to extensive use, dust, debris, or manufacturing defects, the joystick can become unresponsive, exhibit drifting, or experience physical damage. Recognizing these symptoms early and performing a playstation pro controller joystick replacement ensures that your gaming sessions remain smooth, precise, and enjoyable.
Common Causes of Joystick Malfunctions in PlayStation Pro Controllers
- Wear and Tear: Extended usage gradually leads to the degradation of internal components.
- Physical Damage: Accidents or drops can damage the delicate joystick assembly.
- Accumulation of Dust and Debris: Particles can interfere with the sensor's accuracy and responsiveness.
- Manufacturing Defects: Occasionally, faulty components can cause early failure.
Step-by-Step Guide to PlayStation Pro Controller Joystick Replacement
Embarking on a playstation pro controller joystick replacement requires careful preparation, proper tools, and a step-by-step approach to avoid further damage. Below is a detailed guide to help you perform the replacement confidently and safely.
Tools and Materials Needed
- Precision screwdriver set (Phillips and Torx screwdrivers)
- Plastic prying tools and spudgers
- Soldering iron and solder (for internal component replacement, if necessary)
- New joystick/thumbstick module compatible with PlayStation Pro controller
- Anti-static wrist strap
- Cleaning solution and brushes (for cleaning internal components)
- Magnifying glass (optional for detailed inspection)
Preparation and Disassembly
Begin by powering off your controller and disconnecting it from any connected devices. To ensure safety and prevent static damage, wear an anti-static wrist strap. Carefully remove the screws holding the back cover using the appropriate precision screwdrivers. Use plastic prying tools to gently separate the halves of the controller, revealing the internal components.
Locating and Removing the Old Joystick
The joystick assembly is typically connected via small circuit boards or directly soldered. Carefully disconnect the ribbon cables or connectors, noting their positions for reassembly. If the joystick is soldered onto the PCB, advanced skills and equipment will be required to desolder and remove the faulty component.
Installing the New Joystick
Position the new joystick module precisely in its designated slot. Reconnect ribbon cables or connectors securely. If your controller requires soldering, follow proper soldering techniques to ensure robust electrical connections. Be mindful of alignment and avoid damaging surrounding components.
Reassembly and Testing
Once the new joystick is installed properly, reassemble the controller by reversing the disassembly process. Ensure all screws are tightened appropriately without overtightening. Power on the controller and connect it to your PlayStation® device to test the functionality. Verify that the new joystick responds accurately and free from drift or dead zones.
Expert Tips for Successful PlayStation Pro Controller Joystick Replacement
- Use quality replacement parts: Opt for OEM or high-quality third-party modules to guarantee durability and compatibility.
- Follow detailed tutorials: Video guides and step-by-step instructions can significantly improve your chances of success.
- Maintain a clean workspace: Keep your tools and area free of dust and static to prevent internal damage.
- Exercise patience: Rushing can lead to mistakes; take your time at each step.
- Seek professional help if unsure: Sometimes, internal electronics, especially soldered components, require expert handling.
Advantages of Performing Your Own PlayStation Pro Controller Joystick Replacement
Performing a playstation pro controller joystick replacement yourself offers multiple benefits:
- Cost Savings: Avoid the high costs associated with purchasing a new controller or professional repairs.
- Skill Development: Gain technical knowledge and hands-on experience in electronics repair.
- Instant Satisfaction: Repair your controller promptly without waiting for service appointments.
- Extended Device Longevity: Keep your favorite controller functioning perfectly for longer periods.
When to Consult Professionals for Joystick Replacement
despite the DIY benefits, some situations warrant professional intervention:
- Complex Soldering Tasks: When internal components require fine soldering skills beyond amateur level.
- Persistent Malfunctions: If replacement doesn't resolve the issue, external factors might be at play.
- Controller Damage: When physical damage affects the internal circuits beyond the joystick alone.
Preventative Measures to Prolong the Life of Your PlayStation Pro Controller Joystick
Prevention is better than repair. Consider the following tips to extend the lifespan of your controller's joysticks:
- Avoid excessive force: Do not press the joystick too hard or twist it abruptly.
- Regular Cleaning: Use compressed air and soft brushes to clear dust and debris.
- Proper Storage: Keep your controller in a safe, dust-free environment when not in use.
- Use Gaming Gloves: If you game intensely, gloves can help prevent sweat and dirt buildup.
- Limit Submersion and Exposure: Keep controllers away from liquids and extreme temperatures.
How Techizta Supports Your Gaming and Electronic Needs
At Techizta, we understand the importance of seamless gaming experiences and premium electronic devices. Our expertise extends across various categories including electronics and newspapers & magazines, providing expert advice, high-quality parts, and professional repair services. Our team is dedicated to helping gamers and tech enthusiasts alike maximize the lifespan and performance of their devices with reliable playstation pro controller joystick replacement solutions.
Conclusion: Empower Your Gaming with Expert Joystick Replacement
In conclusion, the playstation pro controller joystick replacement process is straightforward when approached with the right knowledge and tools. Whether you’re tackling a minor drift issue or a severe hardware malfunction, understanding the procedure equips you with the skills to restore your controller’s precision. Remember, maintaining your equipment proactively and seeking professional assistance when necessary can significantly enhance your gaming experience, ensuring every move on your controller remains accurate and responsive.
Ready to upgrade, repair, or learn more about electronic gadgets? Visit Techizta.com — your trusted source for electronics, gaming accessories, and expert repair solutions.